Why a strong back matters
Your back muscles pull your shoulders into a healthy position and carry your spine through everyday life. Many of us spend hours sitting at a desk, on a phone, or in traffic. That rounds the shoulders and weakens the upper back. Pulling exercises such as lat pulldowns and pull ups bring balance back to your body and make you stronger at the bench press, deadlift and everyday pulling tasks like climbing onto a truck.
The 2 main exercises for vertical pulling are the lat pulldown and the pull up. Both train the latissimus dorsi (the large muscles that give the back its width), plus the biceps, forearms and upper back.
The lat pulldown
The pulldown is the best starting point because you choose the weight.
Setup
- Adjust the thigh pad so your legs are held firmly in place. If the pad is too loose, your body lifts when you pull.
- Take a grip slightly wider than shoulder width, with palms facing forward.
- Sit tall with a small natural arch in your back and your chest up.
The pull
- Start by pulling your shoulder blades down, like putting them in your back pockets.
- Then bend your elbows and pull the bar toward your upper chest. Your elbows travel down and slightly forward.
- Pause when the bar is around collarbone height.
- Let the bar rise slowly until your arms are straight, and let your shoulder blades rise a little at the top.
Common mistakes
- Leaning back too far: a slight lean is fine, but a big swing turns it into a row.
- Pulling behind the neck: this puts the shoulders in a stressful position and is not necessary. Always pull to the front.
- Using momentum: if you must jerk to move the weight, it is too heavy.
- Gripping too wide: a very wide grip shortens the range and bothers some shoulders. Shoulder width plus a hand is plenty.
- Shrugging up to your ears: keep your shoulders down and away from your ears.
The pull up
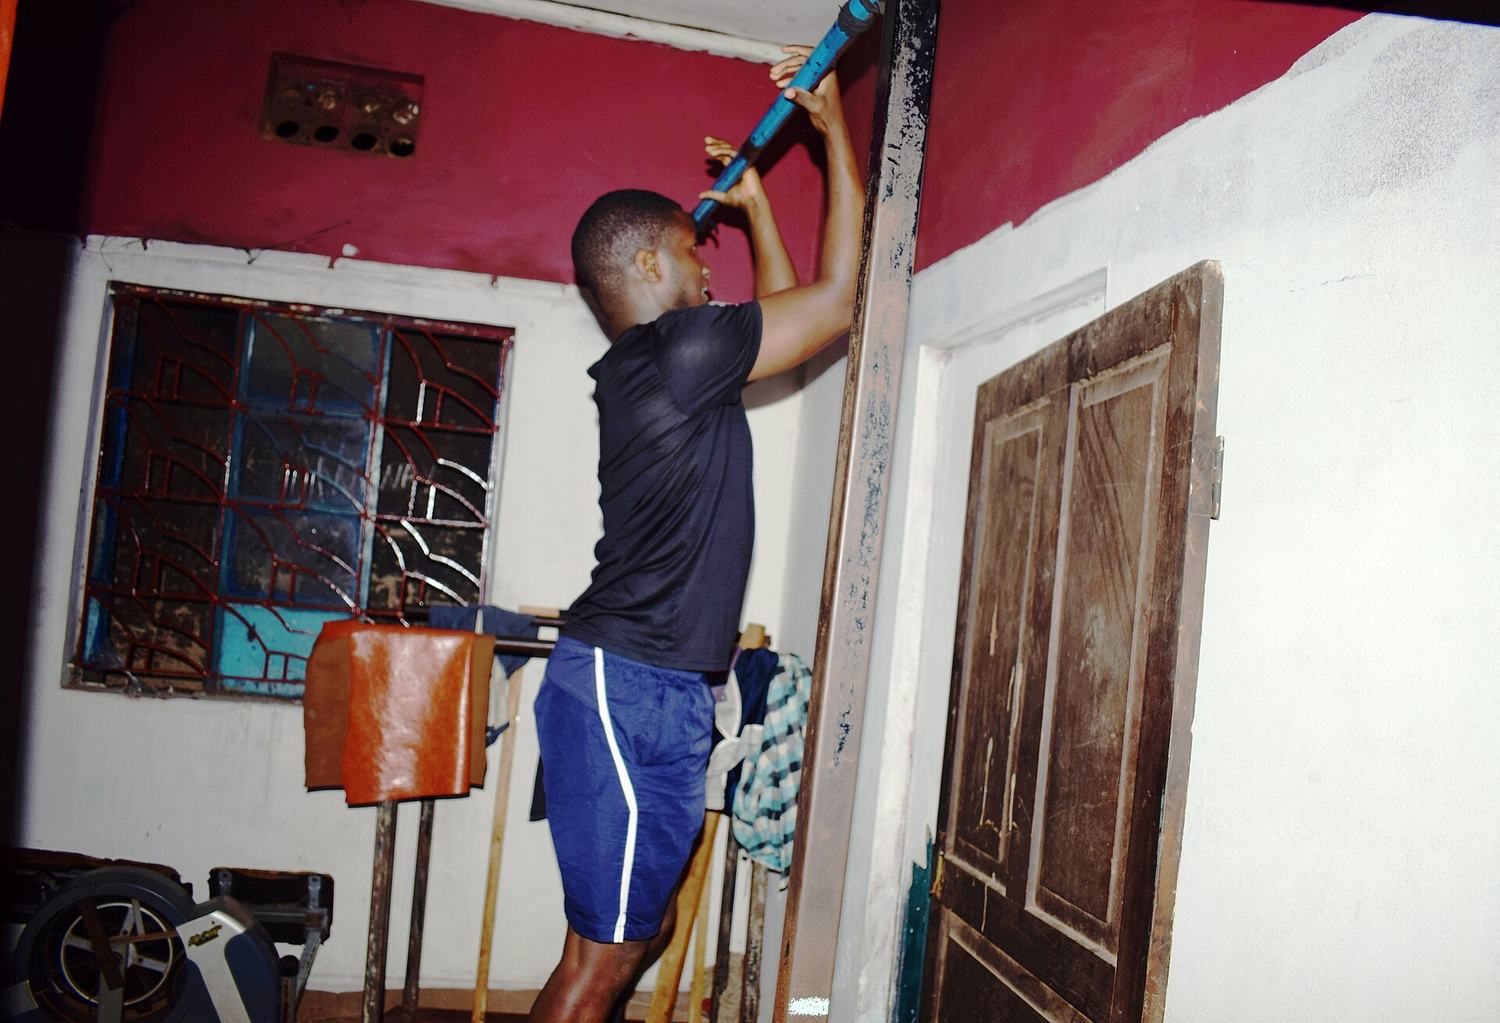
A pull up means lifting your body weight until your chin clears the bar, starting from a dead hang. It is hard because you move your whole body weight, and many people cannot do one at the start. That is normal, and it can be built up.
Technique
- Grip the bar slightly wider than shoulder width, palms facing away.
- Start with arms straight and shoulders engaged, not hanging loosely in the joints.
- Pull your elbows down toward your ribs.
- Lift your chest toward the bar.
- Lower with control until your arms are straight.
A chin up (palms facing you, hands about shoulder width) is usually easier because it involves the biceps more. If you are building toward your initial rep, start there.
How to get your initial pull up
Step 1: build the pulldown
Aim for lat pulldowns where you can do 3 sets of 10 to 12 at a weight close to your body weight, or at least 2 thirds of it. This usually takes a few weeks to a couple of months.
Step 2: practice hangs
Hang from the bar for 20 to 30 seconds with your shoulders gently pulled down. This builds grip and shoulder control. Do 3 hangs per session.
Step 3: negatives
Use a box or bench to jump up so your chin is over the bar. Then lower yourself slowly, taking 3 to 5 seconds. Do 3 to 5 reps in each session. Negatives build strength quickly.
Step 4: assisted pull ups
Use an assisted pull up machine or a strong resistance band looped over the bar and under your knee or foot. Reduce the assistance as you grow stronger. Do 3 sets of 5 to 8.
Step 5: strict reps
When you can lower slowly for 5 seconds and do 8 assisted reps with a light band, try a full pull up. Do not worry about getting more than one at the start. Practice several attempts, rest, and repeat. Even one clean pull up is an achievement.
A weekly back routine
Do this 2 times a week, 2 to 3 days apart:
- Lat pulldown, 3 sets of 8 to 12
- Seated cable row or 1 arm dumbbell row, 3 sets of 10
- Assisted pull up or negatives, 3 sets of 4 to 6
- Face pull or rear delt fly, 3 sets of 12 to 15
- Biceps curl, 2 sets of 12
- Hang for time, 2 sets of 20 to 30 seconds
Total time is around 40 minutes.
Balance your pushing and pulling
A good rule is that your weekly training should include at least as many pulling sets as pushing sets. If you press and bench a lot and rarely row or pull down, your shoulders will tend to round forward and may feel cranky. If your gym offers a row machine, use it often.
Grip and forearm tips
- Chalk helps grip on pull ups, but keep your hands dry if you can.
- Do farmer's walks or dead hangs to build grip, rather than relying on straps for everything.
- Wrist wraps are not needed for most beginners.
- If your hands tear, file down calluses gently and moisturise your hands after training.
When something hurts
A little elbow tiredness at the start is normal. If you feel pain in the front of the shoulder or sharp elbow pain, shorten the range of motion, use a lighter weight and focus on form. If it persists for more than a week or 2, see a physiotherapist. Do not push through joint pain.
Progressing beyond your initial pull up
Once you can do a few, add repetitions to reach 8 to 10. Then add weight with a belt or a backpack, or slow the lowering phase. Mix grip styles: wide, neutral and chin up, to train the back and arms in different ways.
Key takeaways
- The lat pulldown is the best way to start building a strong back and the strength for pull ups.
- Pull the shoulder blades down initially, then bend the elbows and pull the bar to the upper chest.
- Build up to a pull up with hangs, negatives, assisted pull ups and a strong pulldown.
- Train as many pulling sets as pushing sets each week.
- Avoid swinging and pulling behind the neck, and stop if you feel sharp joint pain.